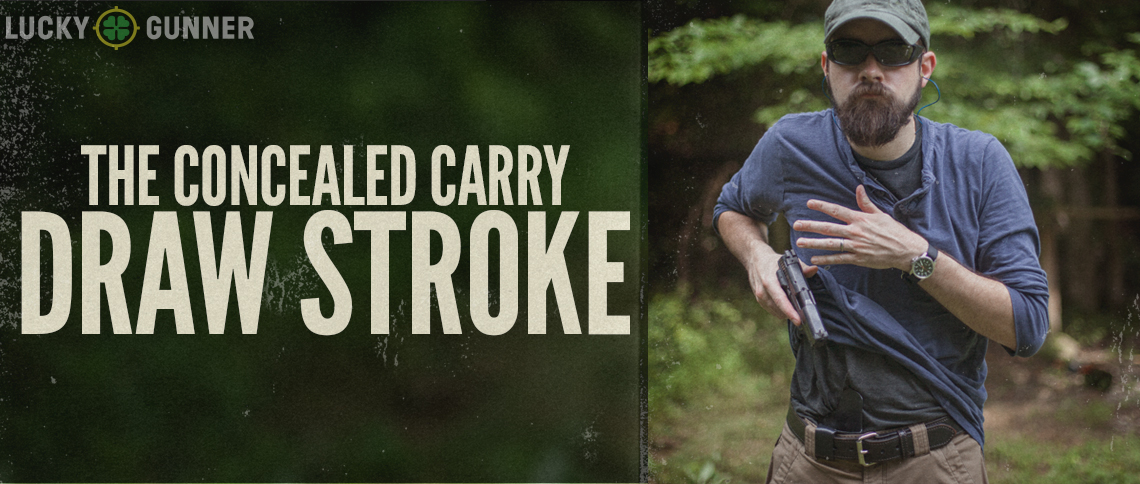
Video: The Four-Step Concealed Carry Draw Stroke
The Draw Stroke in Context
I believe the draw stroke is the most important physical skill you can learn for self-defense, but it doesn’t do you much good if you can’t put it into some kind of real world context. The typical violent attack happens unexpectedly at conversational distance with one, or maybe two attackers. So once you have the fundamentals down for basic gun handling and marksmanship, and then a good draw stroke, the second most important self-defense skill you can practice is following the draw stroke with multiple accurate rapid shots at close range.
Now in reality, you might not have to actually fire after you draw, so we have to sometimes practice drawing the gun straight to a low ready position. For obvious reasons, it could be problematic if we were to develop an automatic reflex where we have to fire every time the gun comes out of the holster.
But for those scenarios that do require shots to be fired in self-defense, most of them don’t involve technically difficult feats of marksmanship or complex gun manipulations. It can be fun to practice the coolguy tactical ninja stuff, and eventually it’s good to push yourself and work in progressively more difficult drills and maybe even get into some competition shooting. But it’s possible to focus too much on the so-called “advanced” technical skills at the expense of being really proficient with the simple gun handling and shooting skills that get people out of 90% of the lethal force encounters that actually happen to non-uniformed citizens.
If you’re being attacked and you actually realize what’s going on, and are able to react before it’s too late — that’s the hard part of the fight. Proper mindset, awareness, and conflict avoidance are more likely to get us out of a jam than a one-handed reload with retention. But when you’ve reached the point in a conflict where the gun has come out of the holster, the shooting part will probably be really easy if you’ve put in a little practice and skill maintenance.
So to put the draw stroke into context at the range, start off with some straightforward shooting exercises. Place the target at around 10 feet and practice drawing and shooting multiple rounds into the upper chest area. The “center mass” target areas can vary considerably in size depending on what target you’re using, but when I’m done shooting a drill, I always like to see a nice, tight group that I can cover with one hand. Don’t always shoot the same number of rounds, change it up a little bit — anywhere from one to five rounds per repetition. Throw in some head shots here and there. Try moving the target to 15 feet for some of the exercises. Before you go to the range, write up a plan to follow with a few exercises like these. You can make a decent practice session with just one 50 round box, or you can really drill in some repetitions with a few hundred rounds.
As we’ve mentioned here before, a shot timer is really helpful when developing a training plan. That way you can pick a couple of drills that you run once or twice every range session. Record your time and accuracy so you can track your progress over time. It’s really helpful to be able to see when you’re getting better. Here are a few drills to get you started.
When you get some speed an consistency down with one target at close range, you can start adding other elements. Do a quick side step during the draw stroke to get out of the attacker’s line of site, and then fire a couple of shots. You can also start with your body facing at different angles to the target, or move the target so it’s not directly in front of you. Or you can even add a second target at a different angle.
Then you can make it progressively more complex and start working the other skills — the target transitions and reloads and one handed shooting. But I think of all of these other skills as being anchored around a solid draw stroke that I know I can do quickly and reliably from any position. I put a priority on the draw stroke, and being able to get quick, accurate hits at close range, on demand, before getting too preoccupied with the stuff that’s just far less likely to be useful in the real world.

