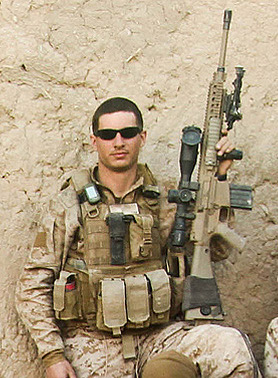
Editor’s Note: This week, I’m happy to present the following post from Kyle Eggimann, the very first guest writer for Lucky Gunner Lounge. Kyle is a former Recon Marine and life-long firearms enthusiast. Be sure to check out Kyle’s full bio for more about his background.
Why You Need a Cheek Rest
It’s common knowledge that a solid cheek weld is an important part of proper shooting technique; a strong cheek weld ensures a solid foundation and a stable position for our eyes and allows for consistent sight alignment, sight placement, and shot adjustment.
Proper comb height, that is, how tall the top or “spine” of the stock is in relation to the sights is what allows us to obtain that good cheek weld and is a critical part of overall rifle fit. Unfortunately, due to different stock designs, sighting systems, and individual face shapes, a shooter will rarely obtain a truly good cheek weld with a non-fitted rifle, particularly when that rifle has an optic mounted.
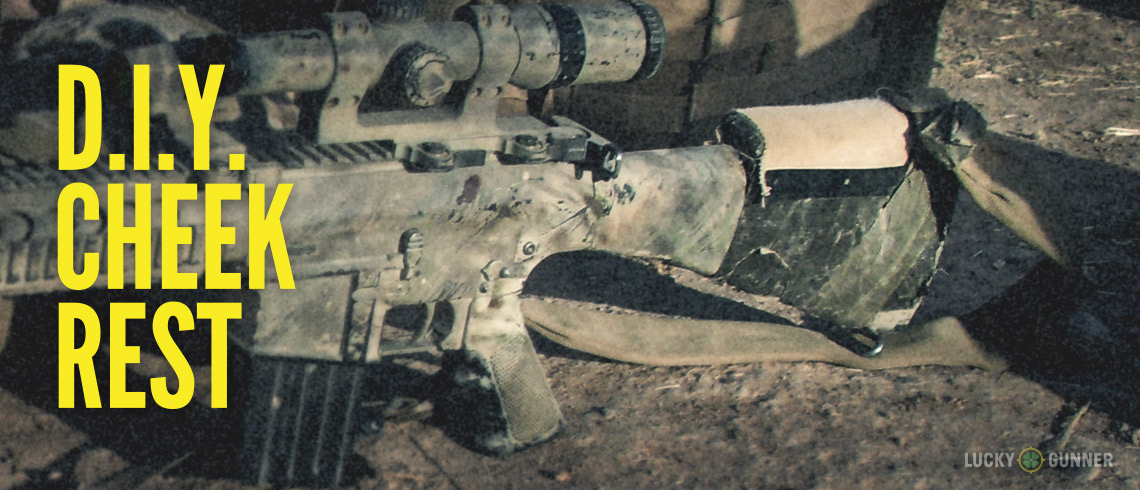
The following tutorial will outline how to build a durable and inexpensive cheek-riser without permanently altering or damaging your firearm in any way. This method is commonly used by military snipers, and I have personally used this setup on an M110 S.A.S.S. while operating as part of a Marine Recon team in Afghanistan.
This modification allowed me to comfortably observe through my riflescope for hours at a time without neck fatigue, and also eliminated the problems with my stock becoming slippery due to sweat. With the only real drawback being aesthetics, I consider this type of modification an essential part of any non-adjustable precision duty rifle and a great addition to many hunting and range rifles as well.
What You’ll Need to Make an Improvised Cheek Rest
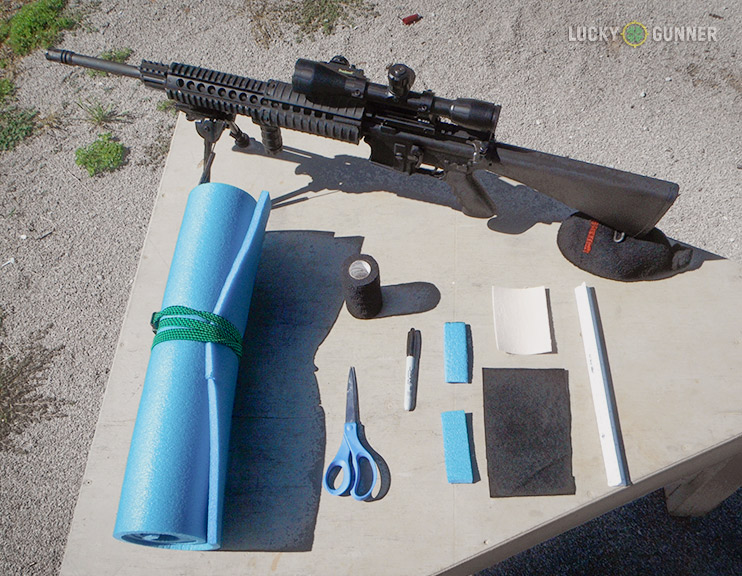
1. Foam padding: Typically military snipers will use foam cut from their standard issue roll-up sleeping pads for the foundation of the comb, but similar pads can be purchased anywhere camping supplies are sold. Other mats designed to support weight such as yoga mats will also work well. The foam used in these mats is ideal because it is relatively stiff, and provides a solid yet comfortable foundation. While purchasing an entire camping mat for just a few square inches of foam may seem wasteful, the overall cost is still very low and the mat can be used as a shooting mat afterwards.
2. Self-adhering (cohesive) bandage: Cohesive bandages adhere only to themselves and are not greatly affected by heat or moisture (i.e. sweat). When wrapped tightly, the material provides a very strong hold and will not loosen over time. I chose to use “Vetrap” because it is available in a wide range of colors and patterns. Vetrap is intended for use on large animals and was easily found at my local ranch and home store. A single roll should be enough for most rifles.
3. Adhesive moleskin or felt: While the cohesive bandages work very well for securing the foam foundation to the stock, some are often fairly abrasive which can lead to facial irritation during and after firing. I prefer to use moleskin, but adhesive felt works too and can be color-matched to the rest of the gun for a better overall appearance. Adhesive felt can be found in various fabric and hobby shops. Note that this is the only component that may need to be replaced periodically as sweat will discolor and degrade either material.
4. Scissors or trauma shears: A normal set of scissors will be more than sufficient for making clean, straight cuts in both the foam and the cohesive bandage.
Putting it Together
The first step in building your comb-riser is to determine how much material you need to add. I recommend cutting two 1″x4″ foam sections to start with. After making your rifle safe, you’ll want to get to the most stable position possible with the rifle rested at the front and if possible, the rear. Get behind the rifle and try to determine about how much lift you’ll need to obtain a correct sight picture while keeping your head completely relaxed.
You can simply slide the foam sections one by one under your cheekbone until you have a clear sight picture with no scope shadow, or you can gently wrap a foam section to the stock to keep it in place while you check your sight picture. If you require multiple foam sections you may wish to tape the sections together as one unit before binding them to the stock so that they’re easier to work with.
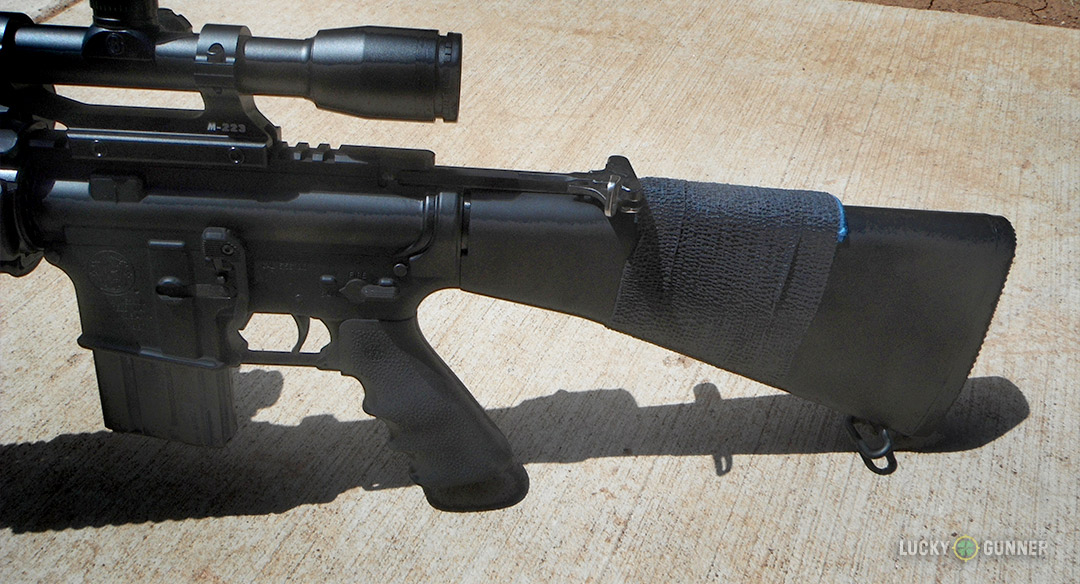
The next step is to place the foam sections on top of the stock with the front edge of the foam meeting the rear-most point of bolt or charging handle interference. Keep in mind that you may need to allow more space on bolt-actions if your maintenance or storage routine requires bolt removal. While holding the foam in the correct position, begin wrapping the cohesive bandage over the foam and around the stock. Gradually increase the pressure of the wrap while making sure the foam remains in the correct spot centered on the comb of the stock. Ensure that no foam is visible and that the wrap is sufficiently tight to prevent the foam from shifting.
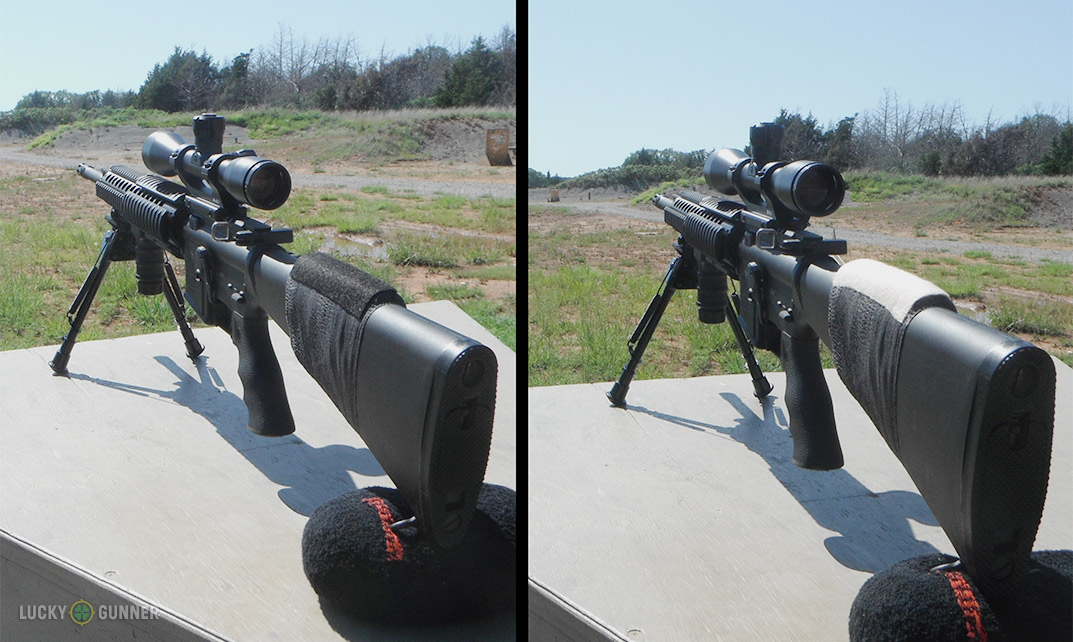
A properly wrapped stock will not allow for any shift in the position of the foam, and will compress the foam to the point that it should feel very solid under normal pressure. Be sure to end the wrap on the top-most part of the stock. Next, simply place a 1.5”x4” piece of moleskin or felt where your face will make contact with the wrapped section of the stock. This will provide a comfortable surface and will also conceal the end of your bandage wrap as well as prevent it from trying to peel away over time. You can mix and match different felt and wrap colors to better fit the overall color scheme of your rifle.
While this method may not be the most aesthetically appealing option for ensuring proper comb height, it is very easy to do, cost effective, and durable. A proper wrap should need no special care in order to last through months of hard use and years of storage. It also serves as a great backup plan in case an adjustable stock becomes damaged or loose in the field. Furthermore, because no adhesives ever come into contact with the stock, there will be no residue or damage left behind should you wish to remove your improvised cheek rest from the gun down the road.
